Preparing and Painting Resin Features
|
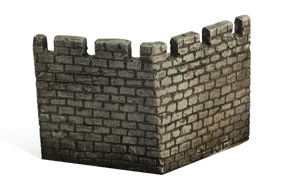
Step 1. The polyurethane models have been coloured grey using special filler that makes the surfaces slightly absorbent which improves the adhesion and durability of paint finishes. However, because resin models are cast into silicone moulds, it is always a good idea to wash them using warm soapy water to remove any silicone residue prior to painting. |
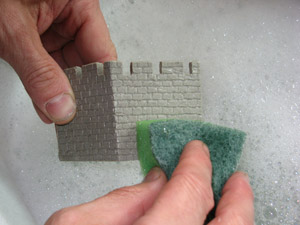
|
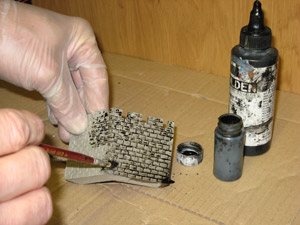
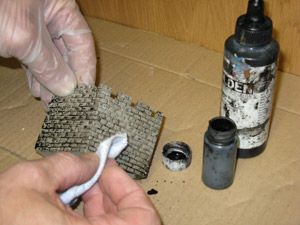
Step 2. Once the models are thoroughly dry you can either paint them your desired colour using model paints or use an ink wash to enhance the surface detail and retain the grey of the resin. In this example I have used the ink wash method: Dilute some artists black acrylic ink using 5 parts water to one part ink. Use a soft brush to apply the ink liberally over the entire surface of the model so that it fills all the details before wiping of excess ink with a clean cloth.
Step 3. When the ink has dried you can use a dry brushing technique to create highlights and shadows with white or off-white model paint. In this example I have used a light bone colour for the highlights and more ink wash for the deep shadows.
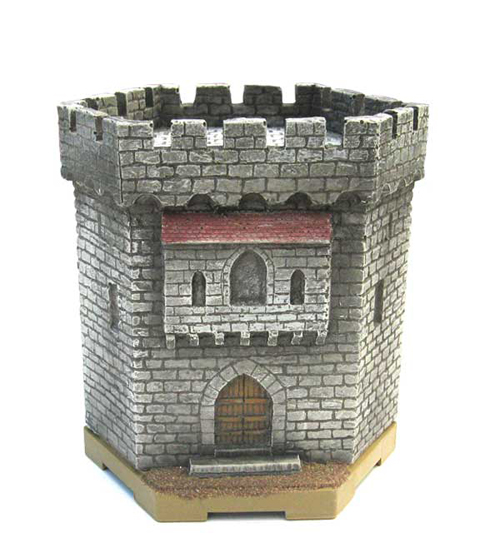
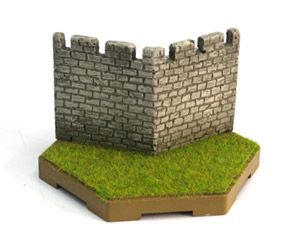
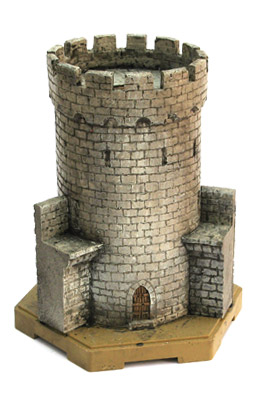
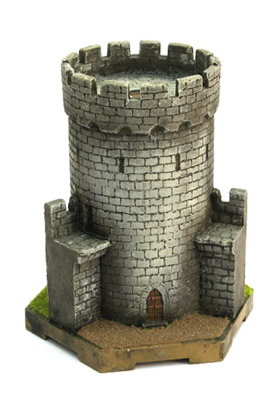
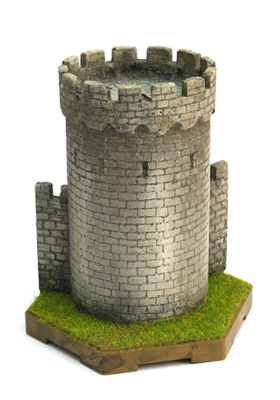
Step 4. Details such as doors, hatches, and roof tiles can be painted with a fine brush to add a little colour and character to the model. The finished examples below have been attached to single Hex tiles, see below for details, to create modules.
|
|
Fixing Resin Fortifications onto Hexon Single Tiles |
|
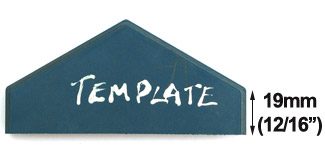
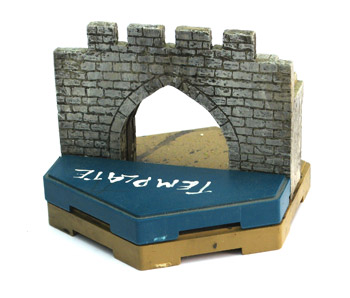
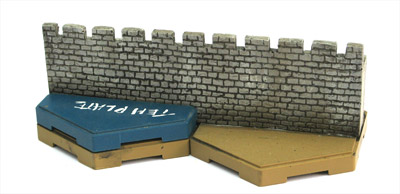
Relatively tall wall sections can be unstable, especially when loaded with miniatures, but by securing them individually to single Hexon pieces, they become both stable and integrated into the terrain. Each piece can be used as module to construct a whole variety of different castle configurations using the same pieces interchanged with one another. Slope pieces and/or single hexon tile can then be used to ‘blend’ the castle into the rest of the hexon terrain. Because all the resin pieces are designed to fit onto hexon terrain hexes which are all 100mm from side to side, they are all made either 50, 100 or 200mm wide. Corner pieces and round towers can be made to line up with the angles of a hexagon. Below is a simple tool which can be used to line up wall sections onto single hexon tiles while they are being glued into position. It has been made by sawing through a single tile to the dimensions shown below.
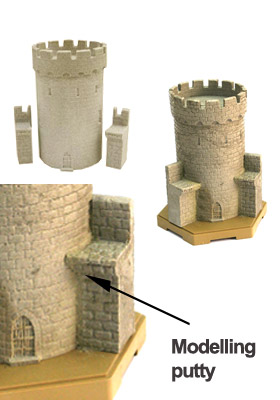
The wall or tower pieces can be painted before or after mounting onto the hexon. I usually ink and paint the models after they have been fixed into position on the tile. This enables me to fill any gaps with modeling putty between two resin pieces mounted on the same tile, such as a 50mm wall section with a 50mm small tower, before painting.
Using the template when required, fix the resin fortifications into position using a few drops of superglue. In addition, you can use small screws underneath the tile and into the model base for added strength, but this isn’t really necessary.
|
The black ink stains on the sides of the single hex tile can then be removed using a fine wet and dry paper.

