Painting 12mm Miniatures
|
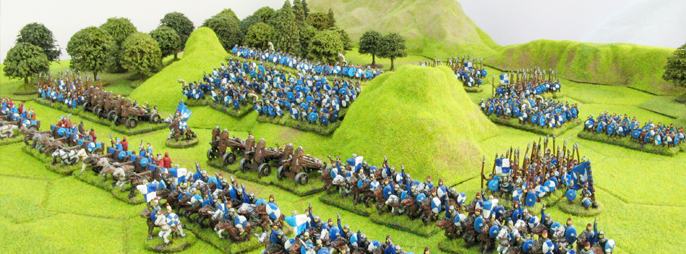
Painting 12mm Miniatures ‘Painting small figures is far easier and quicker than painting 28mm’. You hear this statement echoed at wargame shows as gamers survey epic battles of large armies in the smaller miniature scales. The painting techniques used are very different – you paint a unit for mass effect rather than one 28mm masterpiece, but the results can be splendid as you create a panorama of battle rather than just a skirmish! Below is a step-by-step guide to the main techniques employed by myself and other intrepid painters to quickly and efficiently create large units and armies in 12mm.
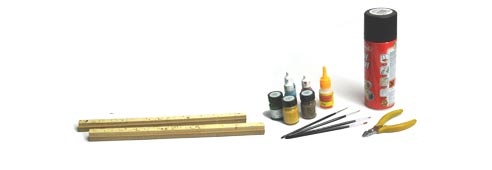
What paint and what sized brushes do you use? For priming the pewter miniatures I always use a can of matt black or satin black spray primer. After priming, I use acrylic model paints from a range of different manufactures. After a few years of trial and error you tend to find that particular pigment colours are better from one paint range than another. All acrylic paints and inks are intermixable, so you can select, mix and match your colours to your own individual preference.
I use brush sizes from 0 (smallest) to 4 (largest). The most common brushes which I tend to use are sizes 1 and 2, which can be loaded with a good quantity of paint and at the same time tackle fine detail.
|
|
|
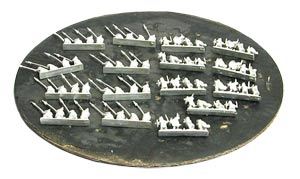
Step 1 - Undercoating Undercoating is important, as it provides a consistent surface on to which paints are applied, it also brings out the detail on the miniatures. Lay miniatures on their side on a sheet of corrugated cardboard or other disposable sheet material. Shake the can of black primer until the contents are thoroughly mixed. Spray thin even coats across the miniatures at a slight angle, changing the direction of spray between coats to achieve the best coverage possible. Leave the miniatures to dry before turning them over to repeat this exercise for the other side. This priming stage is best undertaken outside on a wind free, rain free day both for political as well as practical reasons! |
|
|
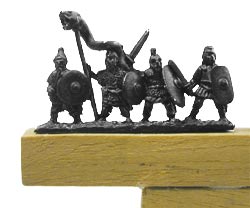
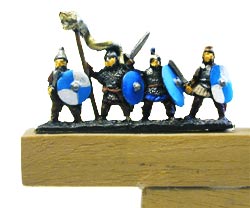
Step 2 – Mounting onto Painting Strips Once dry the primed miniatures are stuck onto painting strips using a dab of superglue. At this point I occasionally part the strips in the middle using small side cutters to make painting access easier. The painting strips are 10mm square pieces of wood 30cm long, stuck onto a slightly larger piece of wood of similar length to make it easier and more comfortable to hold.
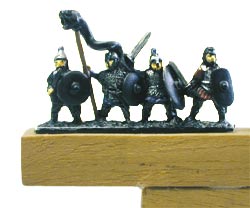
Step 3 – Applying the paint! Use a size 2 or 4 brush to paint the large areas of colour first. Don’t worry about accidentally applying paint to other areas as these can be over-painted later. Gradually work through the various colours reducing the size of brush used as you work on the finer details. Just dab the paint onto the required part of the figure and let the black primer become a shadowed recess between each area of colour.
With a little practice this technique will feel both natural and easy, and your painting speed will become fast and efficient. I usually use a size 4 paint brush for the horses which makes for swift progress, adding lighter and darker shades as I progress along the strip to give tonal variety. |
|
Step 4 – To ink…(optional) Once the main painting is complete you can further advance the appearance and pick out more detail using an ink wash (1 part ink to 4 parts water). Finally, if desired, you can coat the miniatures in matt varnish by brush or spray. Please note; because Kallistra miniatures are cast from lead free pewter, the paint achieves better adhesion and therefore durability than on minis’ cast using lead alloys. For this reason varnishing isn’t really necessary and can sometimes dull the overall appearance.
...and to see how to base the painted miniatures ... Click Here |

