Modelling Terrain Features - Hills
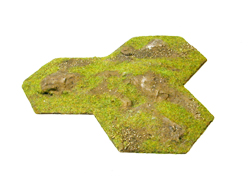 (Low level hill - 3 hex) |
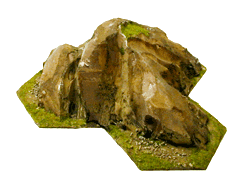 (Impassable terrain - 4 hex) |
|
Quick guide to modelling hills |
|
Hill Base
Cut out a hill base of the required shape, 1,2,3 or more hexes, from thick card or hardboard. If using hardboard, the textured surface should be uppermost to provide a good key for the modelling materials. The edges can be chamfered to make them thinner if required. |
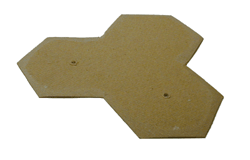
|
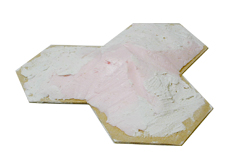
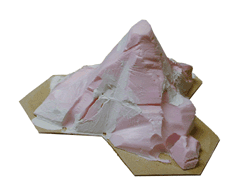
Shaping the hill Using a hot wire cutter, rasp, modelling knives etc. carve the shape of the hill from styrofoam or expanded polystyrene. PVA glue can be used to stick the shaped foam pieces together and then onto the base board. |
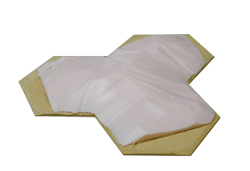
|
When the glue has dried, the contours can be refined, and unwanted gaps filled with interior filler. Once the filler has dried, the whole of the hill model can be coated with a layer of PVA glue and covered in a fine sand to give a textured surface ready for painting. |
|
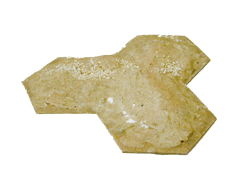
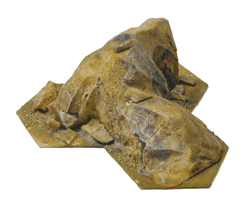
Painting The hills below have been painted using a brown household emulsion paint diluted with water (ratio of 1:1). Upper most and prominent areas have been highlighted using a dry bushing technique with yellow and white emulsion. |
|
Flocking the hill Once the paint has dried, various flocks and gravels can be added to selected areas using PVA glue. The examples below have been flocked using the green Noch 50120 static grass and a sprinkling of terrain gravel. |
|
|
|
Back to Modelling Terrain Features
